 |
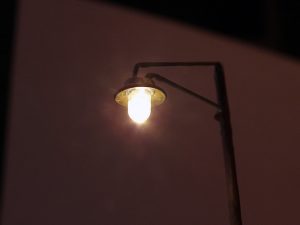
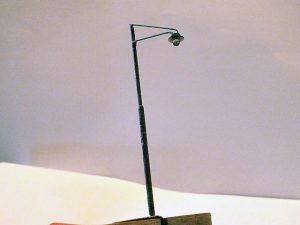
There are several professional streetlights on the market. Although some of them are reasonably priced, making it your self gives a lot more satisfaction.
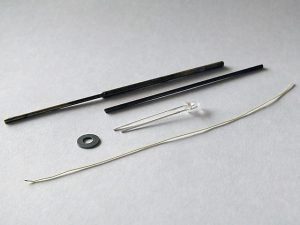
To make a simple streetlight we need the following parts: Brass tube (1 -1.5mm diameter, 2 – 3″ long) |
|
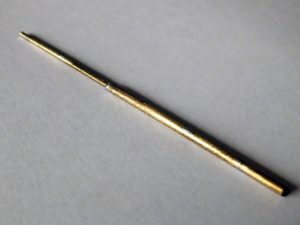
| Take the brass tube and give it a length of 2″ (or whatever you need).
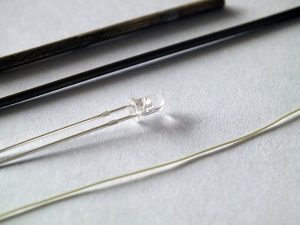
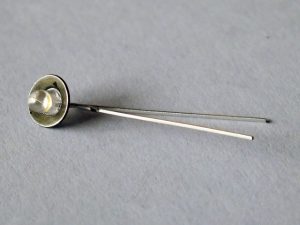
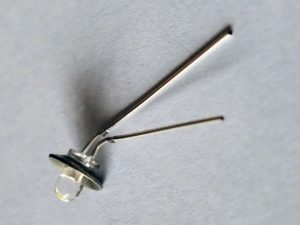
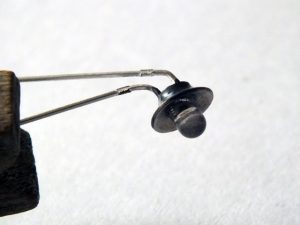
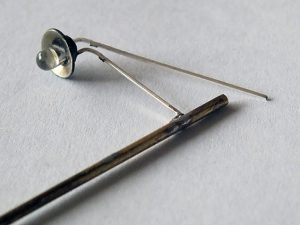
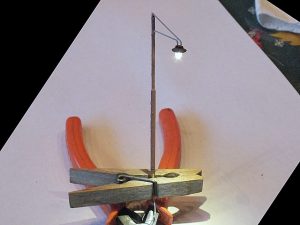
We need to shape the washer to make a hood for the led. Put the washer on a piece of wood and with the centerpoint and a hammer give it a cone-shape. Fix the washer onto the led with a little ca. Now is a good time to paint the led and washer. Take the led and bend the short leg 90* and the long leg approximate. 30* Take the wire (I used wire-wrap wire from an old mainframe computer) and put is in the brass tube. Solder the top of the wire to the long leg of the led without touching the brass tube. Later when the tube is painted the wire won’t go anywhere. Now its a good idea to test it before you paint the streetlight. Take a resistor of 1k and solder it to the wire, solder an other wire to the bottom of the brass tube. Test your creation on a voltage of 10 -12volt. If everything is ok, you can paint your light post. After its dry put it on your layout and enjoy! |
||
 |
 |
 |
 |
 |
 |
 |
 |
 |
 |
||